

Cleaning your Manitowoc ice maker is a two-step dance: descaling and sanitizing. It’s all about running specific cleaning solutions through the machine’s automated cycles. This simple routine gets rid of nasty mineral buildup and kills off bacteria, keeping your ice safe and your machine running smoothly. It's a critical task for any Los Angeles restaurant, whether you're running a bustling pizzeria, a fleet of popular food trucks, or a beloved spot for Mexican food.
Why Cleaning Your Manitowoc Is a Non-Negotiable Task

For any busy Los Angeles restaurant, from a downtown pizzeria to a popular food truck, your Manitowoc ice maker is a silent workhorse. It’s cranking out ice day and night, a key ingredient for just about everything. But let’s be real—ignoring its cleaning schedule isn't just a minor slip-up; it’s a huge business risk that can snowball into serious problems. This piece of restaurant equipment is as vital as your grill or fryer.
The consequences of neglect are no joke, especially with Southern California's notoriously hard water. That water is packed with minerals that quietly build up inside your machine, creating a stubborn layer of limescale.
The Hidden Costs of a Dirty Machine
Think of this limescale buildup like cholesterol in an artery. It chokes the water flow and forces your ice maker to work way harder than it should. That strain leads directly to higher energy bills, as the compressor runs overtime just to keep up.
Even worse, it puts a ton of stress on the most important parts of the machine, making a sudden, expensive breakdown during a dinner rush a very real possibility. That’s a nightmare scenario for any LA kitchen.
A consistent cleaning routine isn't just about maintenance—it's a critical business practice for food safety, extending equipment life, and protecting your bottom line.
Beyond the mechanical headaches, you’ve got health codes to worry about. Under California law, a dirty ice machine is a clear violation. That means fines and a black eye on your hard-earned reputation. Consistent cleaning is your best defense.
Protecting Your Investment and Reputation
Manitowoc ice machines are a staple in busy SoCal restaurants for a reason, but they need regular care to stay in top shape. The manufacturer guidelines are clear: a minimum of two deep cleanings per year, covering both descaling and sanitizing. Following this schedule can extend your machine's life by up to 20-30%, especially in a high-volume spot pumping out 500-1,000 pounds of ice daily.
A proactive approach to cleaning pays off in more ways than one:
- Ensures Food Safety: It stops slime, mold, and bacteria from growing and contaminating your ice.
- Improves Efficiency: A clean machine makes ice faster and uses less power, which means lower utility bills.
- Extends Equipment Lifespan: Regular maintenance prevents the wear and tear that mineral buildup and overworked parts cause.
- Maintains Ice Quality: You'll get clear, tasteless, and odor-free ice every time—a must for quality drinks.
Sticking to comprehensive monthly maintenance routines is the best way to keep your ice maker running efficiently and hygienically all year. Don't think of it as a chore. It's a key part of your restaurant's game plan, protecting both your equipment and your customers.
Gathering Your Essential Cleaning Supplies
Before you even think about cracking open your Manitowoc ice maker, let's get your supplies in order. Having everything ready to go is the difference between a quick, painless job and a total headache. Think of it as mise en place for your equipment maintenance—it saves you from scrambling around the kitchen mid-clean.
The most important things on your list are the chemicals: a Manitowoc-approved descaler and a Manitowoc-approved sanitizer. I can't stress this enough—these aren't just suggestions, they're non-negotiable. The descaler is an acidic solution built specifically to chew through the stubborn mineral and limescale buildup you see from Los Angeles water, all without harming the machine's sensitive nickel-plated parts.
The sanitizer is a totally different beast, designed to wipe out bacteria, slime, and mold. You'll use this after descaling to make sure the ice you serve is safe. Never mix them up, and always, always follow the dilution instructions on the bottle.
Why You Can't Use Vinegar
I see it all the time—someone tries to save a few bucks by reaching for a jug of white vinegar. This is a classic, costly mistake. Vinegar's acidity is a blunt instrument; it isn't formulated for the specific metals and plastics inside your Manitowoc. Over time, it can eat away at critical parts like the evaporator plate and sensors, leading to expensive repairs that will make you wish you’d just bought the right chemicals in the first place.
Using the wrong chemicals is one of the fastest ways to void your warranty and cause irreversible damage. Stick to the manufacturer-approved solutions. It’s the best way to protect your investment and actually get the machine clean.
Beyond the chemicals, you just need a basic cleaning toolkit. Nothing fancy, but keeping a dedicated kit just for the ice machine is a pro move for any restaurant.
Here’s a quick checklist to get you started:
- Personal Protective Equipment (PPE): Don't skip this. Always wear chemical-resistant gloves and safety glasses. Descaler and sanitizer are no joke and can cause serious skin and eye irritation.
- Soft-Bristle Brushes: A few different sizes will help you gently work away any stubborn scale in those tight corners without scratching up the surfaces.
- Spray Bottles: Have one for your cleaning solution and another with plain water for rinsing smaller parts.
- Lint-Free Cloths: You’ll need these for wiping down everything inside and out. You don't want to leave any fibers behind in your ice.
- A Bucket: Just a clean, food-safe bucket for mixing your solutions properly.
Putting these items into a dedicated kit makes the whole process smoother for you or your staff. To build out a complete list of what your kitchen needs, take a look at our comprehensive commercial kitchen equipment checklist. It’ll help you get your entire maintenance operation dialed in.
Executing The Descaling Cycle To Remove Mineral Buildup
Alright, let's get to the main event: tackling that stubborn, crusty mineral buildup that plagues every ice machine in Southern California. Limescale is the arch-nemesis of a healthy ice maker. This descaling cycle is where we bring in the chemicals to break it all down, getting your machine back to peak efficiency and cranking out crystal-clear ice.
We’ll walk through the process for a standard Manitowoc unit, turning what seems like a major chore into a simple, repeatable part of your maintenance routine.
Safety First, Always
Before you even think about touching the machine, your top priority is safety. You're working with strong chemicals and an electrical appliance, so there are no shortcuts here.
First, switch the machine to the OFF position. Then, kill the power completely. The best way is to unplug it from the wall. If it’s hardwired, head to your breaker box and flip the right one. This simple act eliminates any risk of the machine firing up while your hands are inside.
Next up, empty the ice bin. Every last cube needs to go. You don't want a single piece of ice getting contaminated with descaling solution. Once it's empty, grab a clean cloth and give the inside a quick wipe to get rid of any stray ice chips or water.
Getting Inside The Machine
With the power off and the bin empty, it's time to open it up. Manitowoc generally makes this pretty painless. You'll need to remove the front panel to get to what they call the "food zone." This is usually held on by a couple of thumbscrews or simple clips.
Once the panel is off, take a second to get your bearings. You’ll see the key components we need to focus on:
- The Water Trough: This reservoir holds the water before it's pumped over the evaporator.
- The Evaporator Plate: This is the metal grid where the magic happens and the ice cubes are formed.
- The Water Distribution Tube: This piece sits above the evaporator, sprinkling water down over the plate.
For a really thorough clean, you might need to remove some of these parts. The water distribution tube, for instance, usually just lifts right out. If you're ever unsure, your machine's manual is your best friend, but these components are designed to be easily taken apart for cleaning.
Mixing And Circulating The Descaler
This infographic gives you a quick visual rundown of the gear you'll want to have on hand.
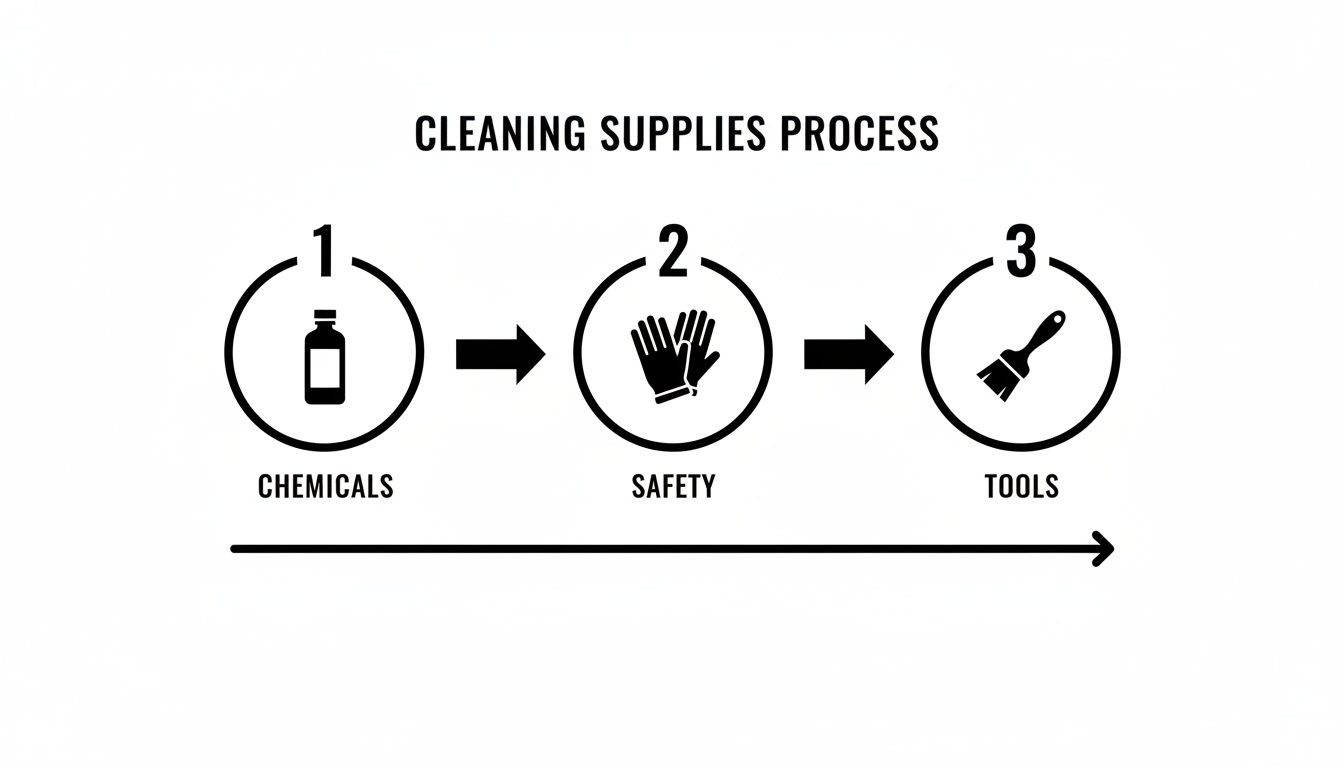
As it shows, a good cleaning starts with having the right chemicals, safety equipment, and tools ready to go before you start.
Now it's time to mix your Manitowoc-approved descaling solution. Follow the instructions on the bottle to the letter. Pour the mixed solution directly into the water trough—and only into the trough. Getting the ratio right is important. Too little and it won't be effective; too much is just a waste of money and means more rinsing later. It's all about precision, much like the process of spot-free car detailing using pure water where the right technique prevents unwanted residue.
Once the descaler is in the trough and you've put back any parts you removed, you can let the machine take over. Plug it back in, restore the power, and flip the toggle switch to the CLEAN or WASH setting. This kicks off the automated cleaning cycle. The machine will start pumping the descaler over the evaporator and through the entire water system, dissolving all that mineral gunk as it goes.
For those in the middle of a cleaning, here’s a quick reference guide to keep you on track.
Manitowoc Descaling Cycle Quick Reference
| Phase | Action Required | Estimated Time | Pro Tip |
|---|---|---|---|
| Preparation | Power off, empty bin, access components, and mix solution. | 10-15 mins | Lay a towel down to catch any spills and keep your tools organized. |
| Automated Cycle | Pour solution into the trough and initiate the "CLEAN" cycle. | 20-30 mins | Don't interrupt the cycle. This is the perfect time to wipe down the exterior of the machine. |
| Manual Scrub | After the cycle, power off again. Inspect and scrub remaining scale. | 5-10 mins | Focus on the corners of the trough and the top of the evaporator grid—scale loves to hide there. |
| Rinsing | Thoroughly rinse all cleaned components with fresh water. | 5 mins | A final wipe-down ensures no chemical residue is left behind before you start the sanitizing phase. |
This table should give you a solid at-a-glance overview of the whole descaling process.
The Final Touch: Manual Scrubbing
When the automated cycle finishes, the machine will either shut off or an indicator light will let you know it's done. Go ahead and kill the power and unplug it one more time for a final inspection.
Take a close look at the evaporator, water trough, and distribution tube. The descaler should have cleared away most of the white, chalky buildup. But in places with notoriously hard water, like here in Los Angeles and Orange County, you'll probably find a few stubborn patches clinging on.
This is where your soft-bristle brush earns its keep. Dip it in whatever solution is left in the trough and gently scrub away any scale that's left. The chemical has already done the hard work of weakening the deposits, so you shouldn’t need to use a lot of elbow grease. A light scrubbing is all it takes to get things looking brand new.
After you're done scrubbing, the final step is to rinse every single component thoroughly with fresh, clean water. You need to get every last trace of that descaling solution out of there. Once everything is rinsed and put back together, you're ready for the next, equally important phase: sanitizing.
Sanitizing Your Machine for Safe and Odor-Free Ice
You’ve muscled through the descaling process and your Manitowoc is free of that chalky mineral buildup. Great! But the job’s only half done.
Descaling takes care of the visible gunk—the scale. Now you have to deal with the invisible threats. We’re talking about the bacteria, slime, yeast, and mold that can grow in any damp environment. Sanitizing is the knockout punch that ensures the ice you serve your customers is genuinely clean and hygienic, not just clear.
You must sanitize after you descale, every single time. Think of it like this: the limescale is a hiding place for germs. Descaling kicks them out into the open, and sanitizing finishes them off. If you skip this, you’re just giving those contaminants a freshly cleaned surface to multiply on.
Mixing the Sanitizing Solution
Just like with the descaler, you need to use a Manitowoc-approved, nickel-safe sanitizer. I can't stress this enough. These are formulated to kill the specific types of biofilms found in ice machines without eating away at the sensitive nickel plating on your evaporator. Grab some generic cleaner or bleach, and you’re looking at permanent damage and a voided warranty.
Follow the mixing instructions on the bottle to the letter. Getting the dilution ratio right is critical. Too weak, and it won’t be effective. Too strong, and you risk leaving a chemical residue that taints your ice. Mix it up in a clean, food-safe bucket.
Getting Hands-On: Sanitizing All Food Contact Surfaces
With your solution ready, it’s time to get to work. This isn't just about pushing a button; a little manual effort here goes a long way.
First, double-check that the machine is still off and unplugged from the last step. Your mission is to coat every single surface that touches water or ice.
Make sure you hit these key areas:
- The Ice Bin: Get in there and thoroughly wipe down the entire interior. Don’t forget the door, the hinges, and any ice scoops you keep inside.
- The Water Trough: Pour some sanitizer solution into the trough and give it a good scrub with a soft brush.
- The Evaporator Plate: The best way to do this is with a spray bottle. Fill it with your sanitizer mix and generously coat the entire evaporator grid.
- The Water Distribution Tube: If you took it out, you can just submerge it in the bucket. If not, spray it down really well.
- Probes and Sensors: Gently wipe down the ice thickness and water level probes with a cloth soaked in the sanitizer.
From my experience, the two spots people always miss are the underside of the water distribution tube and the deep corners of the ice bin. These are prime real estate for slime and mold, so give them some extra attention.
Kicking Off the Automated Sanitizing Cycle
Once you've manually sanitized all the components and put them back where they belong, it’s time to let the machine take over. Pour the rest of your sanitizing solution right into the water trough, the same way you did with the descaler.
Plug the machine back in, turn it on, and hit the CLEAN or WASH button again. This will start a cycle that circulates the sanitizer through the machine’s entire circulatory system—all the internal pipes and pathways you can’t reach by hand. Let the cycle run its course, which usually takes about 20 minutes. Don’t interrupt it.
This automated flush is what guarantees a deep clean, getting into the plumbing where microorganisms love to hide.
The Final (and Most Important) Rinse
After the sanitizing cycle finishes, the machine will shut off. What you do next is absolutely crucial for the quality of your ice: the rinse. You need to get every last trace of that sanitizer out of there. Any leftover residue will give your ice a funky chemical taste and smell—the last thing a customer in a Los Angeles bar wants in their cocktail.
The machine will probably start an automatic rinse on its own. I always recommend letting it run through at least two or three full rinse-and-flush cycles just to be safe.
When it’s done, do a quick smell test. If you detect even a hint of a chemical odor, run another rinse cycle. Once you’re confident it’s totally flushed, you can flip the toggle switch back to ICE.
Here's one last pro tip: always throw out the first full batch of ice your machine makes after cleaning. Consider it a final purge. This ensures that the very first cubes you serve are made from fresh water in a perfectly clean and neutral system, protecting both your customers and your reputation.
Keeping the Air Filter and Condenser in Top Shape
After you've finished the deep clean inside your Manitowoc, it's tempting to call it a day. But focusing only on the food zone is a classic mistake. The components on the outside—specifically the air filter and condenser coils—are just as vital for your machine's performance and lifespan.
Ignoring them is like asking a marathon runner to breathe through a coffee straw. In a busy L.A. kitchen, the air is thick with grease, dust, and fine flour particles. All that gunk gets pulled straight into your ice maker, clogging the air filter and wrapping the condenser coils in a grimy, insulating blanket.
This blockage literally chokes the machine, preventing it from getting rid of heat. Your compressor is forced to work overtime, which doesn't just send your energy bills through the roof—it's one of the main reasons for premature equipment failure. Spending a few minutes on these exterior tasks every couple of months can head off the vast majority of expensive service calls.
Keeping the Air Filter Clean
Think of your Manitowoc's air filter as its first line of defense against the chaos of a commercial kitchen. Most models have a reusable filter that just slides out from the front or side. Cleaning it is incredibly simple but pays off in a big way.
- Slide it out: Find the filter cover and pull the filter from its housing.
- Give it a wash: Take it over to a sink and use warm water and some mild dish soap. A gentle scrub will lift off any grease or dust. Rinse it completely.
- Let it dry: Make sure the filter is 100% dry before you put it back. A damp filter is a perfect breeding ground for mold.
This whole process takes less than five minutes but makes a huge difference in airflow and efficiency. If your kitchen has fryers or does a lot of baking, you'll probably want to do this every month.
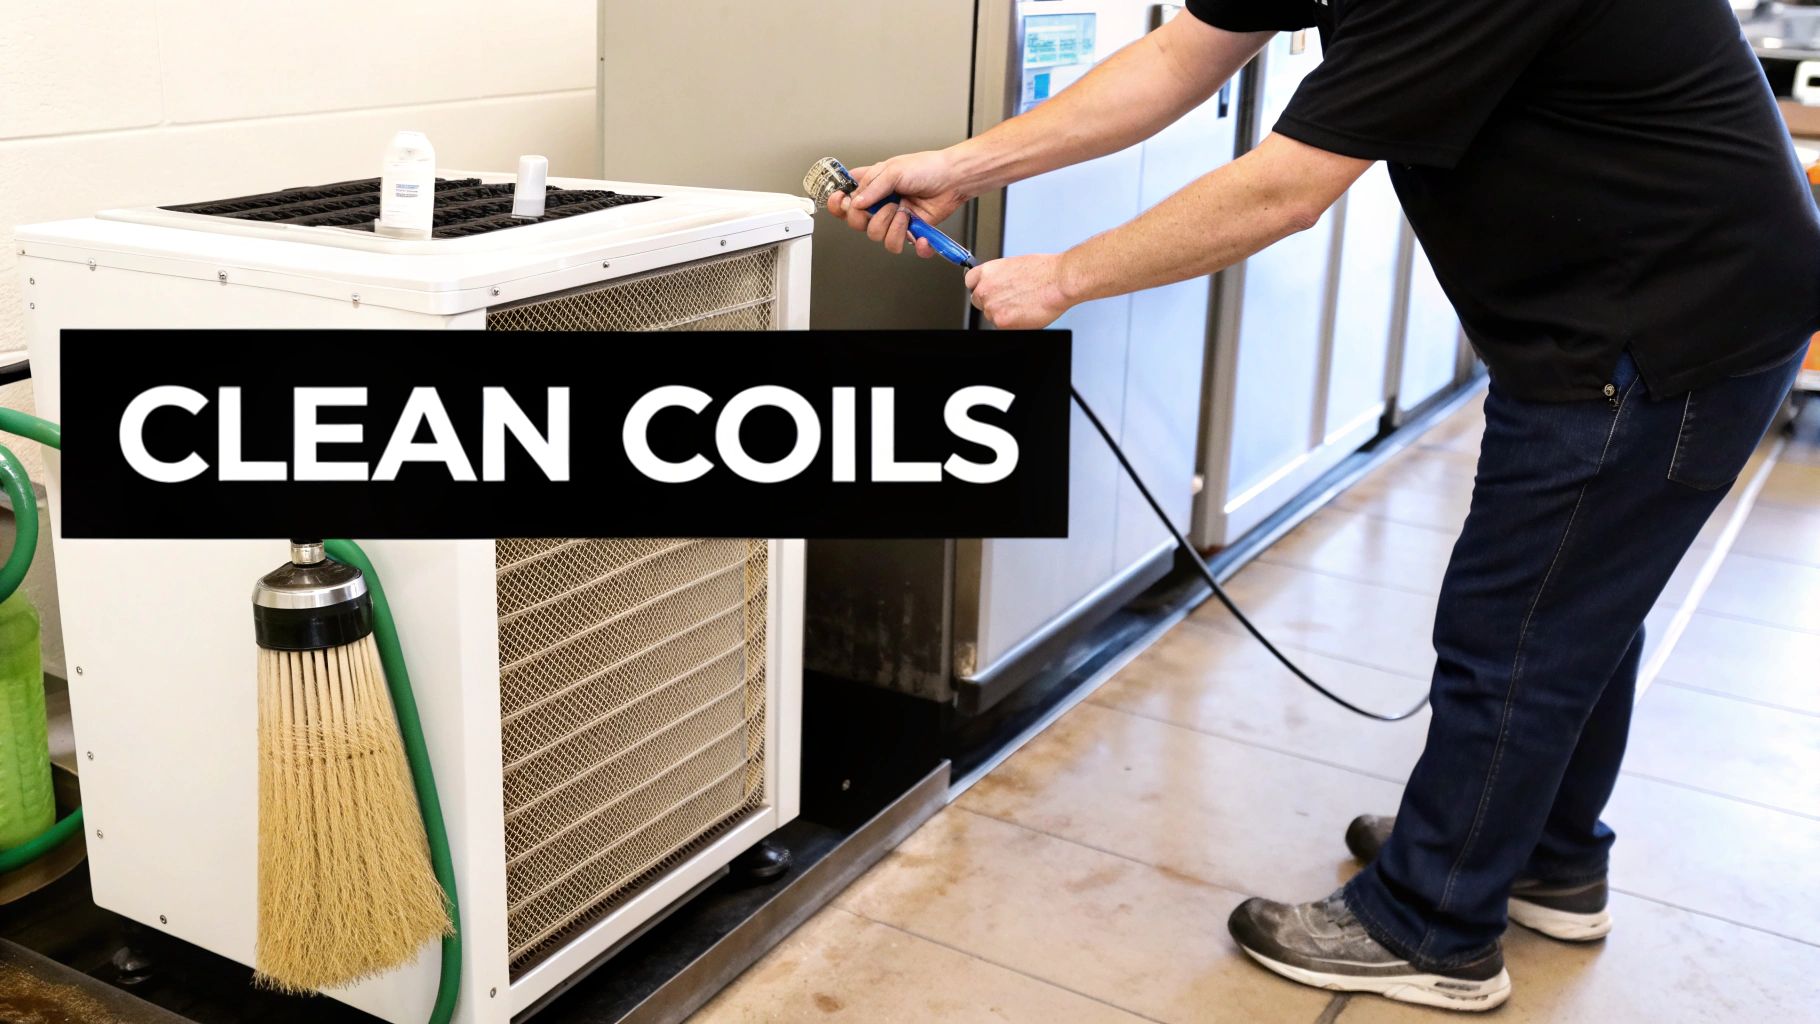
Cleaning the Condenser Coils
Tucked behind the air filter are the condenser coils—that grid of delicate metal fins that looks a lot like a car's radiator. This is where the magic of heat exchange happens. When these coils are caked in grime, your machine’s ability to cool itself plummets.
Think of a dirty condenser as a winter coat on your ice machine in the middle of a Southern California summer. It traps heat, forcing the compressor to work itself to death. A clean condenser is the single best thing you can do for your machine's longevity.
To clean the coils, all you need is a soft-bristled coil brush (you can grab one at any hardware store) and a vacuum with a brush attachment. Gently brush the fins up and down—following the direction they run—to knock the dust and debris loose. Then, use the vacuum to suck all that gunk away for good.
In Southern California's warm climate, keeping the condenser clean on air-cooled models is non-negotiable. Experts recommend cleaning them every six months to avoid the kind of heavy buildup that can slash efficiency by 20-40%. In fact, dirty condensers in restaurants are behind 35% of all unnecessary service calls as ice production grinds to a halt. You can see more on the impact of condenser health in KaTom's in-depth guide.
This exterior maintenance is a key piece of a bigger puzzle. For more pro tips on keeping all your kitchen warriors in fighting shape, check out our guide on commercial kitchen equipment maintenance. It’s packed with best practices that will save you time, headaches, and money across your entire operation.
Recognizing When to Call a Professional Technician
You can handle the routine cleaning, no problem. Think of your regular descaling and sanitizing as the foundation of keeping your Manitowoc running smoothly. But what happens when you’ve done a full cleaning cycle and the machine is still acting up?
That's usually your first sign that the problem goes deeper than simple scale or slime buildup. This is where you hit the pause button on the DIY fixes. Trying to troubleshoot a complex mechanical or electrical issue on your own can easily turn a small problem into a catastrophic, expensive failure. It's far smarter to know your limits and get a certified technician on the phone when you’re out of your depth. A pro can diagnose the root cause in minutes, not hours.
Signs You Need an Expert
If you've just run a complete cleaning and sanitizing cycle and the machine is still giving you grief, it's time to call for backup. Keep a sharp eye out for these tell-tale signs that the problem isn't just about surface-level grime:
- Persistent Error Codes: The display panel is flashing an error code that won’t go away, even after a reset and a fresh cleaning. This is the machine telling you a specific component has likely failed.
- Strange Noises: Any grinding, squealing, or loud clanking is a major red flag. These sounds almost always point to a failing compressor, a bad fan motor, or another internal part that’s on its last legs.
- Incomplete or Hollow Cubes: When the ice comes out thin, slushy, or hollow right after you’ve cleaned everything, the issue is often with the refrigeration system or a faulty ice thickness probe.
- Machine Won't Turn On or Trips the Breaker: This is a serious one. It could be anything from a fried control board to a dangerous electrical short. Don’t even think about messing with this yourself—it’s a job strictly for a qualified technician.
Investing in professional preventative maintenance is one of the smartest moves a restaurant owner can make. A technician can spot underlying issues—like a small refrigerant leak or a worn-out pump—before they cause a catastrophic failure during your Saturday night dinner rush.
This proactive approach ensures your Los Angeles or Orange County business never has to deal with the headache and lost revenue of an unexpected shutdown. If you're encountering any of these stubborn issues, our Manitowoc Ice Machine Troubleshooting Guide can offer more detailed insights, but a technician will provide the definitive solution.
Answering Your Top Manitowoc Cleaning Questions
Even with the best guide, questions always come up. After all, you’re busy running a restaurant in Los Angeles, not studying ice machine manuals. Here are some of the most common things we get asked about cleaning a Manitowoc ice maker for the first time.
Why Is My Ice Still Cloudy After I Just Cleaned It?
This one stumps a lot of people, but cloudy ice is almost always a water issue, not a cleaning one. Southern California is famous for its hard water, which is loaded with dissolved minerals. When you run a descaling cycle, you're cleaning out old buildup, but the next batch of water coming in is still full of minerals that make ice look cloudy as it freezes.
The only real long-term fix is to install a dedicated water filtration system for your ice machine. It's an investment, but it pulls those minerals out before they ever get into your Manitowoc. The result? Crystal-clear, harder ice that looks and tastes better.
How Often Should I Really Be Cleaning This Thing?
Manitowoc's official line is to do a full descaling and sanitizing cycle at least twice a year. Think of that as the absolute bare minimum.
For a busy LA spot, reality often demands a more frequent schedule. It really depends on your kitchen's environment.
- Restaurants with Bakeries or Fryers: Your kitchen air is full of yeast, flour dust, and grease particles. All of that gets sucked into your ice machine and becomes food for slime. For these environments, you should be cleaning every three to four months.
- Bars and Cafes: You've got less airborne gunk to worry about, so cleaning every four to six months is a solid goal. This will keep your machine hygienic and running efficiently.
Can I Just Use Vinegar or Bleach Instead of the Expensive Stuff?
Please, don't do this. It might feel like you're saving a few bucks, but using unapproved chemicals like bleach or vinegar is one of the fastest ways to kill your machine.
Vinegar is an acid that will eat away at the sensitive nickel plating on your evaporator plate. Once that's gone, it’s an expensive, irreversible repair. Bleach will wreck the plastic parts and rubber seals, leading to leaks and system failure.
Always, always stick to the Manitowoc-approved, nickel-safe descaler and sanitizer. These solutions are formulated to be tough on scale and slime without damaging the delicate internal parts of your machine. It’s the only way to protect your investment and keep it running for years.
When routine cleaning isn't enough and it's time for an upgrade, LA Restaurant Equipment is your go-to source for new, warranty-backed commercial kitchen equipment. We deliver warehouse-direct pricing on the best brands, helping you find the reliable, energy-efficient units your Southern California restaurant depends on. Check out our selection and get fast, free shipping at https://larestaurantequipment.com.