

When your Manitowoc ice machine suddenly goes on strike, the first thought is often a big, expensive repair bill. But before you start picturing the worst-case scenario, take a breath. More often than not, the culprit is something incredibly simple—a tripped breaker, a closed valve, or just an overlooked switch.
This guide walks you through the essential first checks to get your machine back up and running, often without needing a single tool.
Starting Your Manitowotc Troubleshooting The Right Way
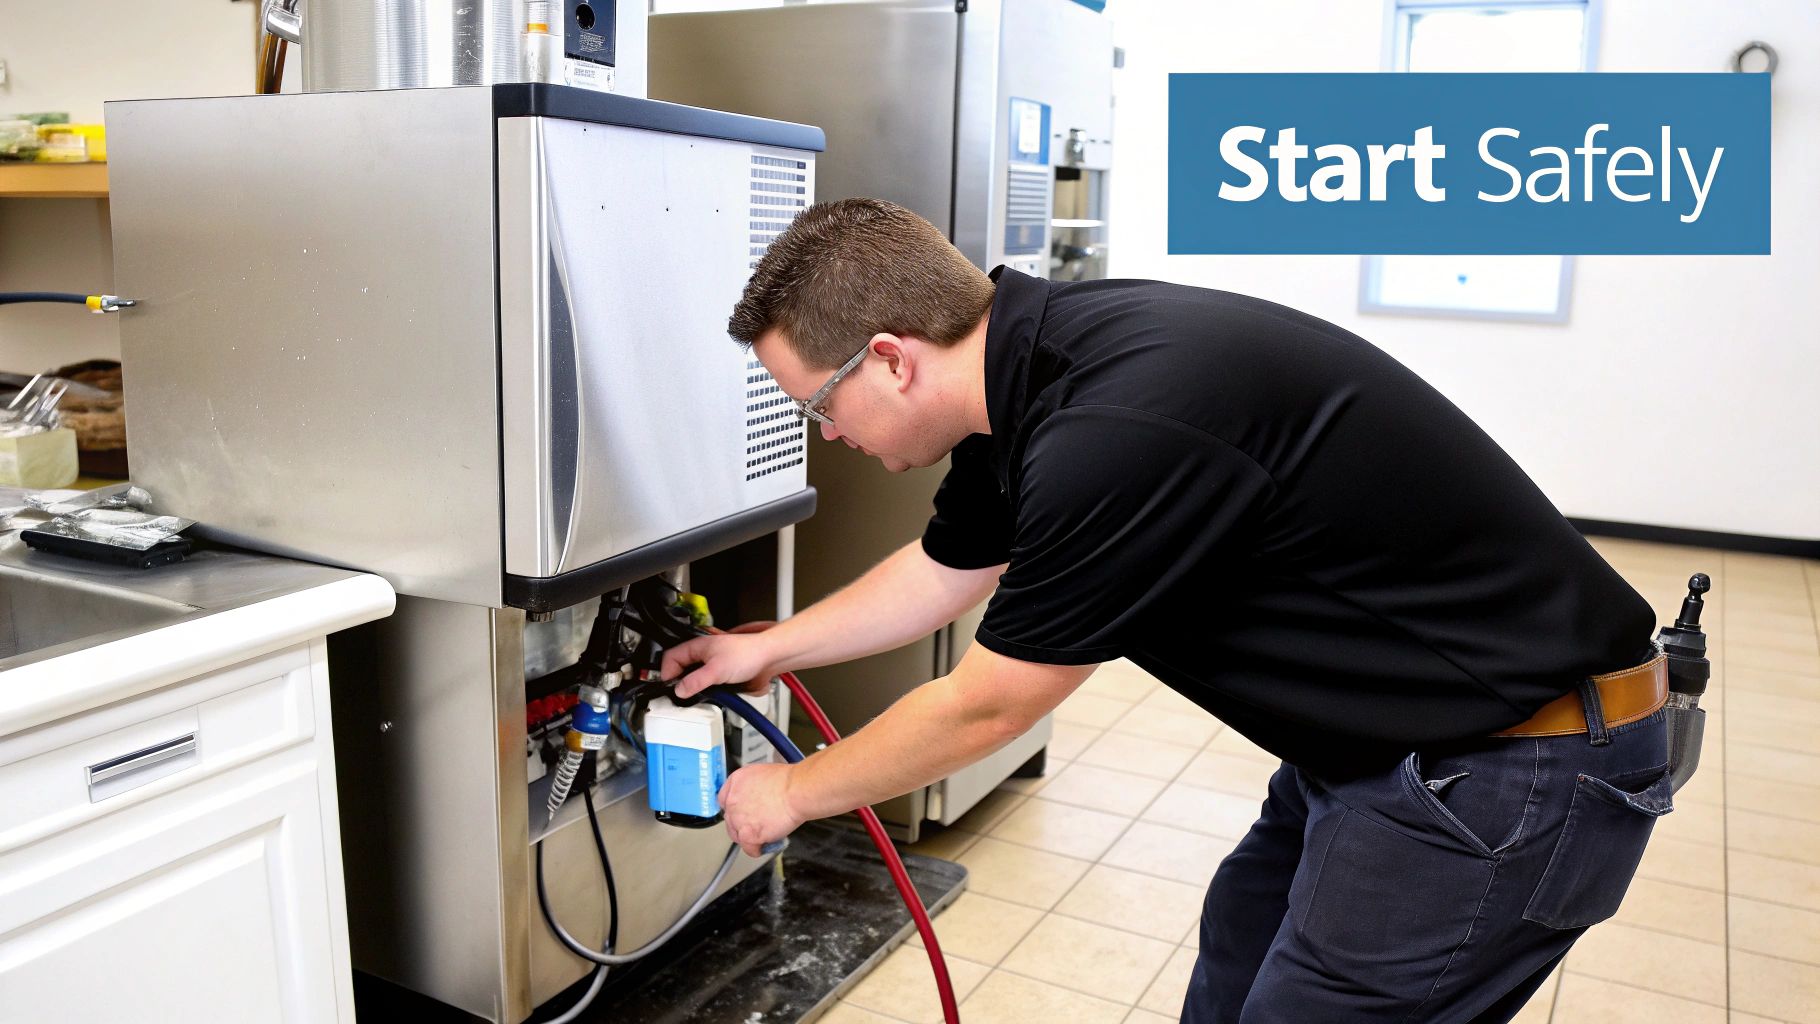
Before you even think about opening a panel, let's cover the basics. In a bustling Los Angeles kitchen, where every piece of restaurant equipment is critical, these simple steps can save you hours of downtime and a costly service call. This is true whether you're running a popular Los Angeles pizza place or a busy fleet of Los Angeles food trucks.
First thing’s first: safety. Always disconnect the ice machine from its power source before you do anything else. Unplug it or, better yet, shut off the circuit breaker. Then, find the water supply valve that feeds the machine and turn it off completely. This eliminates the risk of shock or an unexpected flood while you’re investigating.
Your Initial Diagnostic Checklist
With the machine safely off, it's time for a quick triage. You'd be surprised how many "broken" machines are fixed right here.
- Check the Power Switch: Is the main switch in the "ON" or "ICE" position? It's easy for it to get bumped or flipped off during a deep clean.
- Verify the Water Valve: Make sure the water supply valve is all the way open. If it's even partially closed, it can choke off the water flow and stop ice production cold.
- Assess Room Temperature: How hot is it in your kitchen? Manitowoc units, like any refrigeration equipment, have their limits. If the ambient temperature creeps up past 90°F, the machine can overheat and shut itself down or slow to a crawl.
- Inspect Air Filters and Vents: Take a look around the machine. Are boxes stacked up against the vents? Is the air filter clogged with dust and grease? Blocked airflow is a fast track to overheating and poor performance.
This flowchart lays out the simple, top-down process for these initial checks. Start with power, move to water, and then look at the environment.
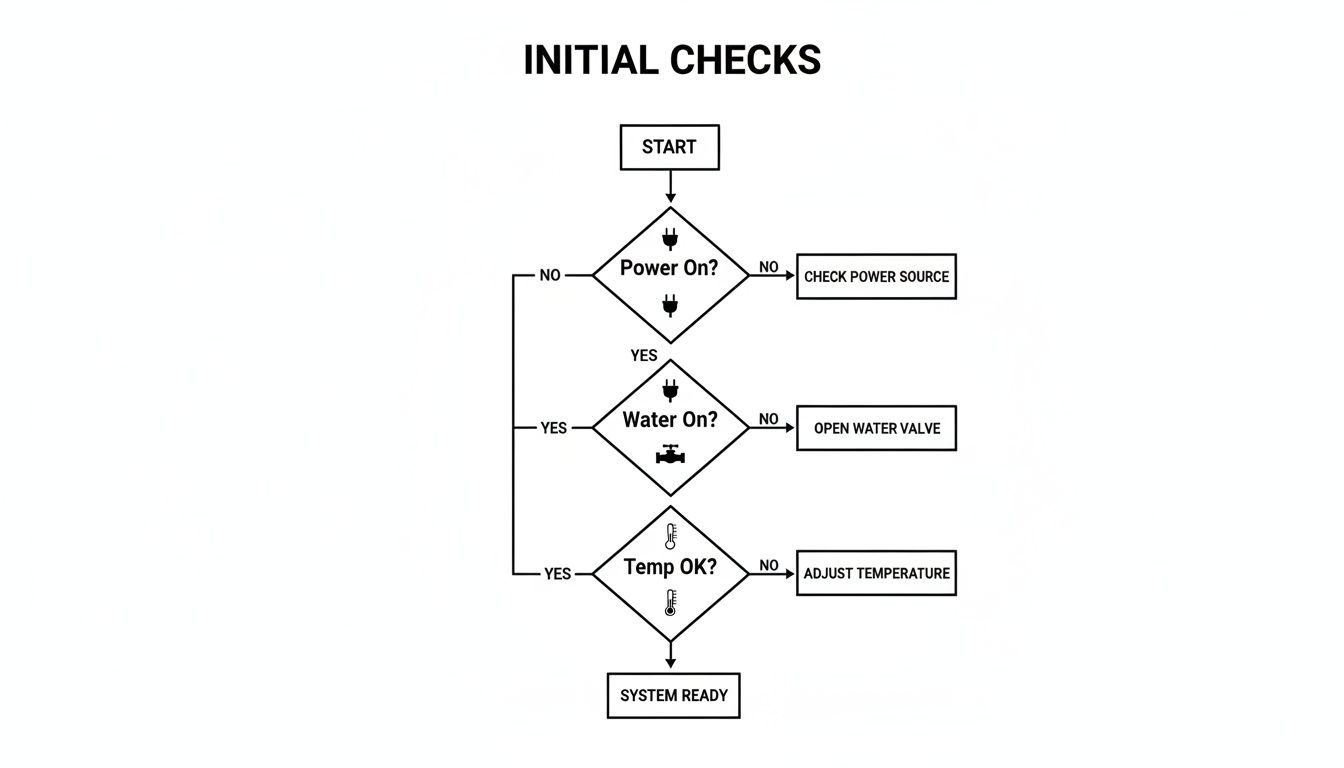
Running through these basics systematically is the most efficient way to find the root of the problem.
Why Water Supply Matters Most
If there's one area to pay extra attention to, it's the water supply. Industry data shows that water-related issues are the number one reason for ice machine service calls, accounting for a staggering 30–40% of all incidents. The usual suspects are low water pressure, a kinked supply line, or mineral buildup from hard water.
Key Takeaway: Before you suspect a major mechanical failure, always confirm your machine has power, a steady flow of water, and room to breathe. These are the three pillars of a healthy ice machine.
If you’ve gone through these preliminary steps and your machine is still on the fritz, it’s time to match the symptom to the likely cause. For instance, a machine that’s running but not making ice has a very different problem than one that won't power on at all. Sometimes, just browsing a selection of modern Los Angeles ice makers can give you a better feel for how these complex units operate.
Quick Symptom and Solution Finder
To help you get straight to the right fix, we've put together this quick-reference table. Find your machine's symptom below and jump directly to the section with the detailed troubleshooting steps.
| Symptom | Most Likely Cause | Go To Section |
|---|---|---|
| No Ice Production | Power or Water Supply Issue | Diagnosing No Ice Issues |
| Machine Is Leaking | Clogged Drain or Loose Fitting | Fixing Leaks and Noises |
| Error Code on Display | Sensor or Control Board Fault | How To Decode Error Codes |
| Strange Noises | Failing Motor or Pump | Fixing Leaks and Noises |
Using this table will help you zero in on the problem and find the solution much faster.
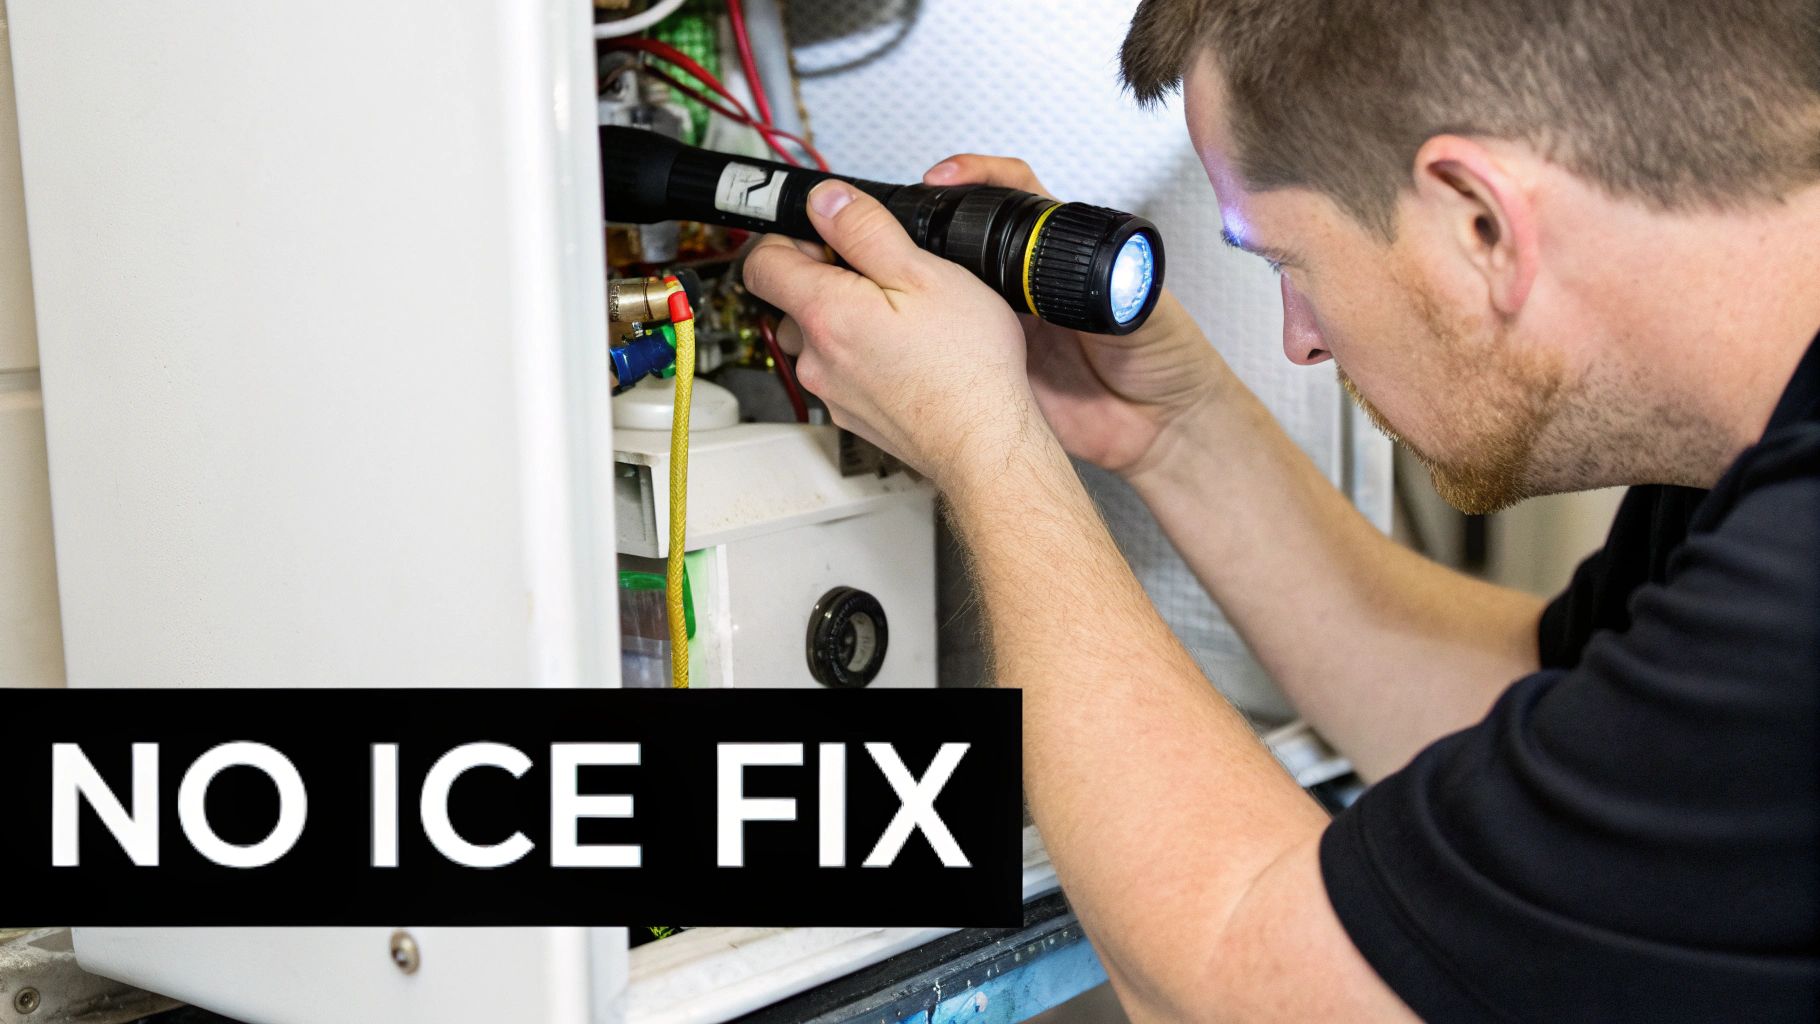
Diagnosing No Ice Or Slow Ice Production Issues
When your Manitowoc machine suddenly stops making ice or slows to a crawl, it can feel like the entire kitchen service grinds to a halt. This kind of problem usually goes beyond a simple flipped switch; it’s about digging into the internal mechanics that can shut down production. From the room's temperature to a failing part, several culprits could be at play.
One of the most overlooked factors is the environment itself. This is especially true in places like Los Angeles, where a sudden heatwave can easily push your kitchen's ambient temperature well above 95°F. At those temperatures, your machine’s condenser simply can't keep up and struggles to release heat, which torpedoes its efficiency and ice output. The temperature of your incoming water matters just as much.
Checking Water Flow And Key Components
The whole process of making ice starts with water, so the supply system is the first place you should look. A disruption anywhere along this path means no ice. It's as simple as that.
Start with the most common and easiest fix: the water filter. A filter clogged with sediment and scale acts like a dam, choking off the water flow to the evaporator plate. If you can’t remember the last time it was changed, it’s almost definitely time.
From there, you’ll want to trace the water’s path to a few key components:
- Water Inlet Valve: This is an electric solenoid valve that opens to let water into the machine. If it’s not opening, no water can get into the trough. You should hear a distinct "click" when it activates at the start of a cycle. Silence is a bad sign.
- Float Switch: This sensor is what tells the machine the water trough is full. If it gets stuck or malfunctions, it might be sending a false signal that there’s enough water, preventing the inlet valve from ever opening.
- Water Pump: The pump is the heart of the system, circulating water from the trough up and over the evaporator plate where it freezes. A dead pump means the water just sits there, never forming ice.
When you're dealing with no-ice or slow-production scenarios, parts like solenoid valves are often the prime suspects. If you suspect an electrical failure, knowing how to wire solenoid valves can be a game-changer for getting the repair done right.
Inspecting The Ice Formation Process
If you've confirmed water is flowing correctly but ice still isn’t forming, the issue is likely within the refrigeration or the ice-making cycle itself. This is where you need to watch and listen to the machine as it runs.
Pay attention to the compressor. It should kick on and hum along steadily during the freeze cycle. If it's dead silent or cycles on and off rapidly, you’re probably looking at a more serious refrigeration problem.
Next, get a good look at the distribution tube. This part has a series of small holes designed to evenly cascade water over the evaporator plate. When these holes get clogged with scale, the water flow becomes uneven, resulting in thin, incomplete sheets of ice—or no ice at all. Often, a quick cleaning with a small brush is all it takes.
Pro Tip: Don’t ever underestimate the damage mineral scale can do. In areas with hard water, scale buildup is the silent killer of ice machines. It insulates the evaporator plate, making it harder to freeze water, and clogs up every vital component it touches.
A machine that runs constantly but produces very little ice is a classic symptom of a dirty evaporator or a problem with the harvest cycle. For a deeper dive into this specific problem, check out our guide on what to do if your ice machine is not making ice.
By methodically working through each of these potential failure points—from the water source all the way to the evaporator—you can zero in on the exact reason your Manitowoc has stopped producing and figure out the right way to fix it.
How To Decode Manitowoc Error Codes And Lights
Modern Manitowoc ice machines are smart, but they don't exactly speak our language. They communicate through a series of flashing lights and error codes on the display. These codes are your direct line to understanding what's wrong, turning a frustrating guessing game into a clear diagnostic path.
When you see a fault code, don't panic. Think of it as the machine telling you exactly where it hurts. Knowing how to translate these messages is the key to a fast, accurate repair—and it can save you from replacing parts that aren't actually broken.
For instance, a seemingly major shutdown might just be a minor sensor fault you can easily reset. On the other hand, some codes point straight to more serious control board failures that need immediate attention.
Common Fault Codes and What They Really Mean
While your specific model's service manual is always the ultimate guide, many Manitowoc machines share a common language of error codes. Getting familiar with these will help you diagnose the most frequent issues we see in busy Los Angeles restaurants and Mexican food establishments.
Let's break down a few of the codes you're most likely to run into:
- Long Harvest Cycle Errors (E01, E05): These codes pop up when the machine takes too long to release the ice sheet from the evaporator plate. This could be due to a dirty evaporator, low refrigerant, or a faulty ice thickness probe that isn't signaling the start of the harvest cycle correctly.
- Long Freeze Cycle Errors (E02): If the machine is struggling to form ice in a timely manner, you'll see this error. The cause is often related to high ambient or water temperatures, a dirty condenser, or a deeper issue within the refrigeration system.
- Water Fill Errors (E20, E21): These codes point to a problem with the water system. It could be as simple as a closed water valve or something more involved, like a failed water inlet valve or a malfunctioning float switch.
Field service data shows that electronic control faults and sensor errors are a huge cause of downtime. In fact, these issues account for an estimated 15–30% of diagnosed failures in modern commercial ice machines. Interestingly, newer models of this restaurant equipment tend to have fewer mechanical failures but a higher proportion of electronic troubleshooting calls. You can learn more about the ice maker market's evolution to see how the technology has shifted.
Diagnosing Faulty Sensors and Probes
Sensors are the eyes and ears of your ice machine. When one of them goes bad, it feeds the control board bad information, causing the whole system to act up. Diagnosing a faulty sensor is usually a process of elimination.
The ice thickness probe is a frequent offender. This simple metal probe measures how thick the ice sheet is getting. If it gets dirty or coated in mineral scale, it can't sense the ice properly. This might trick the machine into running a crazy-long freeze cycle or prevent it from harvesting the ice at all. Often, a simple cleaning with a nickel-safe solution is all it takes to fix it.
Expert Tip: Before you assume a sensor is broken, check its physical condition. A loose wire, a buildup of grime, or incorrect positioning can all cause it to send bad signals. A quick cleaning and adjustment can often save you the cost of a new part.
Another critical component is the thermistor. This sensor measures temperature, telling the control board when conditions are right for making ice. If a thermistor fails, the machine might think it's too hot or cold to operate, causing it to shut down for what seems like no reason.
By learning to decode these signals, you go from being a frustrated owner to an empowered troubleshooter. This knowledge not only helps you fix current problems but gives you the insight to spot potential issues before they lead to a complete breakdown.
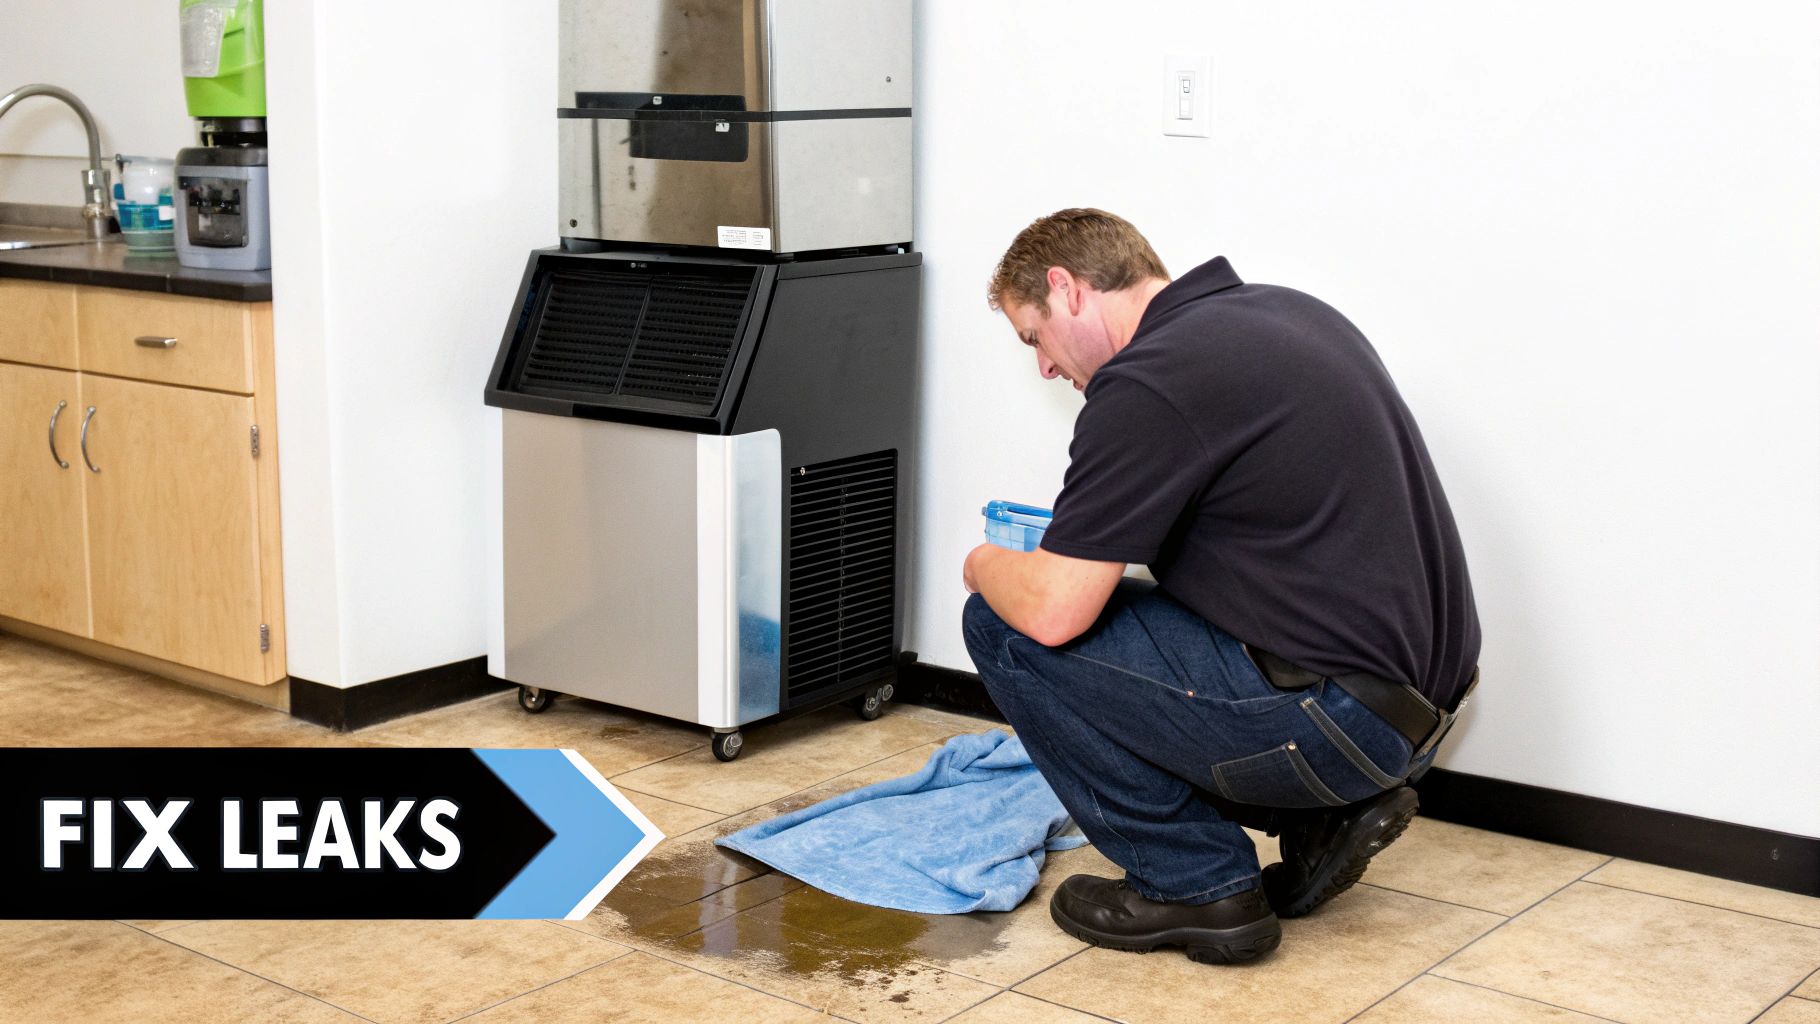
Fixing Leaks, Noises, And Other Physical Problems
Forget the error codes for a minute. Some of the most gut-wrenching problems are the ones you can see and hear—a sudden puddle spreading across the floor or a brand-new grinding noise that makes you wince.
These aren't subtle hints; they're giant red flags. Ignoring them is a recipe for serious water damage or a catastrophic mechanical failure. Let's play detective and trace these physical symptoms back to their source.
When you spot a water leak, even a small one, you need to act fast. Your first move should always be to shut off the water supply and cut the power to the machine. This is non-negotiable—it prevents more damage and keeps you safe. Once the area is secure, you can start the hunt for the leak's origin.
Locating The Source Of A Water Leak
Finding where the water is coming from is all about elimination. Grab a good flashlight and a few paper towels; you'll need them to spot drips and follow moisture trails back to the culprit.
Start your search at the usual suspects, as these are the most common failure points I see in the field:
- Water Inlet Connection: This is where the main water line hooks up to the back of your ice machine. Feel around the fitting to make sure it's snug. Look closely at the hose itself—is it cracked, brittle, or showing signs of wear?
- Drain Lines: Your machine has lines to get rid of meltwater from the bin and purge water from the system. Make sure they're all firmly connected and, just as importantly, that they have a steady downward slope so gravity can do its work. A clog in one of these lines will cause water to back up and spill over in no time.
- Water Trough and Seals: Pop the cover off and take a look inside. Inspect the water trough for any cracks. A worn-out seal or a hairline crack can create a slow, steady leak that pools up inside before it ever hits your floor.
Tightening a loose fitting is an easy win. A cracked part, on the other hand, will have to be replaced. To tell the difference, carefully wipe the entire area dry, then watch like a hawk to see exactly where the first drop of water reappears.
Decoding Strange Machine Noises
Weird sounds are your machine’s way of screaming for help. If you can learn to recognize what they're trying to tell you, you can get to a diagnosis much faster. Think of it like a seasoned mechanic listening to an engine—every rattle and hum tells a story.
Different noises point to different problems, so listen carefully to the specific sound your machine is making.
Key Insight: Don't just hear the noise—characterize it. Is it a high-pitched squeal, a low grinding rumble, or a loud, rhythmic clanking? The specific sound is your biggest clue to identifying the failing component.
Here are the most common sounds you'll run into and what they almost always mean for your Manitowoc:
- Grinding or Rumbling: This is the classic death rattle of a failing water pump motor. The bearings inside are shot, causing the internal parts to grind against each other. If you hear this, the pump is living on borrowed time and needs to be replaced immediately.
- Loud Humming or Whirring: A constant, loud hum that’s way more intense than the normal operating noise often points to the condenser fan motor. Either something is blocking the blades, or the motor itself is on its way out.
- Squealing: That unmistakable high-pitched squeal is usually a worn-out bearing in either the fan motor or the water pump.
- Clanking or Banging: This is a truly alarming sound that often happens during the harvest cycle. It could mean the ice slab is stuck and struggling to release from the evaporator, or it might be a problem with the harvest assist mechanism itself.
By listening carefully and methodically checking for leaks, you can often turn a potential disaster into a manageable repair, catching the problem before it turns into an expensive, middle-of-the-night emergency call.
Your Proactive Manitowoc Maintenance Checklist
Let's be honest, the best troubleshooting guide is the one you never have to open. When it comes to your Manitowoc ice machine, a little proactive maintenance is the single best way to dodge unexpected breakdowns, get more years out of your restaurant equipment, and keep a steady supply of clean ice flowing. It’s all about turning potential middle-of-a-rush emergencies into manageable, scheduled tasks.
Think of it like changing the oil in your car—you don't wait for the engine to seize up. A simple, consistent maintenance routine is your strongest defense against the usual suspects of machine failure: scale, slime, and dust. We've broken down the essential tasks into daily, weekly, and monthly steps you can actually stick to.
Your Daily Maintenance Habits
These are quick, two-minute checks that can spot trouble before it even starts. Make them as automatic as wiping down the counters at closing time.
- Exterior Wipe-Down: Grab a soft cloth and some mild detergent to clean the outside panels and door. This isn’t just for looks; it keeps grease and dust from getting sucked into the air intake.
- Quick Bin Check: Scoop out the ice and give the bin a fast look-over for any signs of mold or slime. Catching it early makes cleanup a breeze.
- Just Listen: Seriously, take a moment to listen to the machine run. Hear a new rattle or a hum that wasn't there yesterday? Your ears can be a surprisingly good diagnostic tool.
These simple habits go a long way, ensuring your machine is working in a clean environment—the foundation of reliability.
Weekly and Bi-Weekly Tasks
These next steps take a little more focus but are absolutely critical for maintaining good airflow and water quality, two things your machine desperately needs to make ice efficiently.
Clean the Air Filter
Your machine's condenser has to breathe. A clogged, dusty air filter is like forcing it to run a marathon while holding its breath—it will overheat and work way harder than necessary.
- Find the air filter, usually on the front or side of the unit.
- It should slide right out; most are designed for easy, tool-free removal.
- Wash it with some warm, soapy water. Stay away from harsh chemicals.
- Let it air dry completely before putting it back. And never, ever run the machine without the filter in place.
Sanitize the Water System
This is non-negotiable for stopping slime and algae buildup. You'll want to use a Manitowoc-approved, nickel-safe cleaning and sanitizing solution to get the job done right.
Crucial Tip: Always use separate cleaning and sanitizing cycles. The cleaner is for breaking down mineral scale, while the sanitizer is for killing bacteria and slime. If you only do one, you're only doing half the job.
Monthly and Semi-Annual Deep Cleaning
Mineral scale is the silent killer of ice machine performance, especially in places with hard water like we have in parts of Los Angeles. Descaling should be a regular task, either monthly or quarterly, depending on how hard your water is.
Descale and Sanitize Cycle
Just follow the directions on your Manitowoc cleaner to kick off the "Clean" cycle. This sends the descaling solution through the whole system, dissolving that chalky mineral buildup on the evaporator plate, water pump, and distribution tube. Once the cleaning cycle is done and the system has been rinsed, run a full sanitizing cycle to make sure everything is hygienic.
Spending a little time maintaining your Manitowoc is far less stressful than dealing with a dead one during a dinner rush. For a bigger picture on keeping your whole operation humming, our guide to commercial kitchen equipment maintenance has some great insights. And for a deeper dive into strategy, check out these top preventive maintenance best practices. Trust us, sticking to this schedule will pay for itself over and over again in saved repair costs and zero downtime.
Knowing When to Call a Professional Technician
Look, while this guide will walk you through a ton of common Manitowoc ice machine fixes, there are definitely times when you need to put the tools down and call in a pro. It’s not about admitting defeat; it’s about smart management. Trying to tackle certain repairs without the right training isn't just a risk to your machine—it can be downright dangerous for you and your staff.
The biggest red flag, without a doubt, is anything involving the sealed refrigeration system. I’m talking about refrigerant leaks or a compressor that’s on its last legs. These are absolutely not DIY jobs. The system is under intense pressure, and handling refrigerant is strictly regulated for a reason. Same goes for major electrical problems, like a fried control board or high-voltage wiring issues. You don't want to mess with that stuff and risk shock or a fire.
Is This Repair Beyond Your Scope?
Before you start unscrewing panels and getting in deep, take a second and run through a quick mental checklist. This will help you figure out if you're good to go or if it's time to call for backup.
- Are we talking about the sealed refrigeration system? If you see an oily residue and the machine just isn't cooling, you might have a refrigerant leak. Stop right there and call someone.
- Is this a complex electrical component? If the problem seems to be with the main control board, transformers, or the heavy-duty wiring connected to the compressor, it's best left to an expert.
- Do you need specialized diagnostic tools? A pro is going to walk in with refrigerant gauges, a high-end multimeter, and maybe even a recovery machine. If the job needs those, it's out of your hands.
- Is the problem a total mystery? If you've tried all the basic troubleshooting steps and the machine is still acting up randomly, a technician has the experience to spot the weird, not-so-obvious issues.
Key Takeaway: If you answered "yes" to any of these, your safest and most cost-effective move is to call a professional. Trust me, a botched repair can quickly turn a few hundred-dollar fix into a few thousand-dollar replacement.
When you do make that call, a little prep work goes a long way. Have the machine's model and serial number handy. Be ready to give a clear description of what's happening and any error codes you've seen on the display. Giving the tech this info upfront helps them diagnose the problem before they even arrive, ensuring they show up with the right parts to get your Los Angeles restaurant making ice again, fast.
Your Top Manitowoc Questions, Answered
When you're in the middle of a frantic dinner rush, the last thing you need is a mystery from your ice machine. We get calls about these all the time, so I've put together some quick answers to the most common questions we hear from restaurant owners.
How Often Should I Really Be Cleaning This Thing?
Look, for peak performance and to keep the health inspector happy, a full-on clean and sanitization cycle is a must at least every six months.
But let's be realistic. If you're running a busy Los Angeles food truck or a packed Mexican restaurant where the margaritas are flying, you can't get away with that. In those high-demand spots, we strongly recommend doing the full cycle every three to four months. And those air filters? Clean them weekly. It takes two minutes and makes a huge difference.
What's Up With This Blinking Blue Light?
A steady blue light on your Manitowoc Indigo NXT is a good sign—it means it's humming along and making ice. Business as usual.
If you see that blue light blinking, though, it’s not an emergency. It's the machine's polite way of saying it needs a little TLC. Nine times out of ten, it's just telling you it's time for a routine cleaning or descaling cycle.
My Ice Is Coming Out Thin and Hollow. What Gives?
Thin, brittle, or hollow ice is almost always a water problem. It's the number one complaint we hear. Before you panic, check a few things.
The most common culprits are a clogged water filter starving the machine of water, low water pressure coming into your building, or a dirty evaporator plate caked with mineral scale. The first and easiest thing to do? Swap out that water filter.
Pro Tip: Before you pick up the phone to call for a service tech, try a simple power cycle. Unplug the machine, wait a full minute, and plug it back in. You'd be surprised how often this clears a minor electronic glitch and saves you the cost of a service call.
Can I Just Use Any Cleaner I Have on Hand?
Please, don't. This is a big one. You absolutely must use a nickel-safe cleaner and sanitizer that's specifically formulated for ice machines.
Grabbing the wrong chemical cleaner can permanently eat away at the evaporator plate, and trust me, that's a repair bill you do not want to see. Always, always stick with the manufacturer-approved solutions. It’s not worth the risk.
When you're ready for reliable, warranty-backed restaurant equipment that can handle the LA hustle, from pizza shops to food trucks, check out the warehouse-direct pricing at LA Restaurant Equipment. You can find your next ice machine and a whole lot more at our online store.