

Cleaning a commercial deep fryer isn't a single task—it's a routine. Think of it as two key jobs: daily oil filtering and wipe-downs, plus a much deeper weekly "boil-out" using a specialized cleaning solution. This one-two punch is what prevents dangerous grease buildup, keeps your oil lasting longer, and makes sure the food you serve is consistently top-notch. For any professional kitchen, getting this process down is a non-negotiable for both safety and profitability.
Why a Clean Fryer Is Your Kitchen’s Unsung Hero
In the hyper-competitive Los Angeles food scene, the state of your deep fryer can quietly make or break your business. I saw this firsthand with a popular Los Angeles food truck that specialized in incredible Mexican-style loaded fries. Out of nowhere, they started getting complaints—customers said the fries tasted a little off, almost bitter. At the same time, their cooking oil costs were mysteriously climbing.
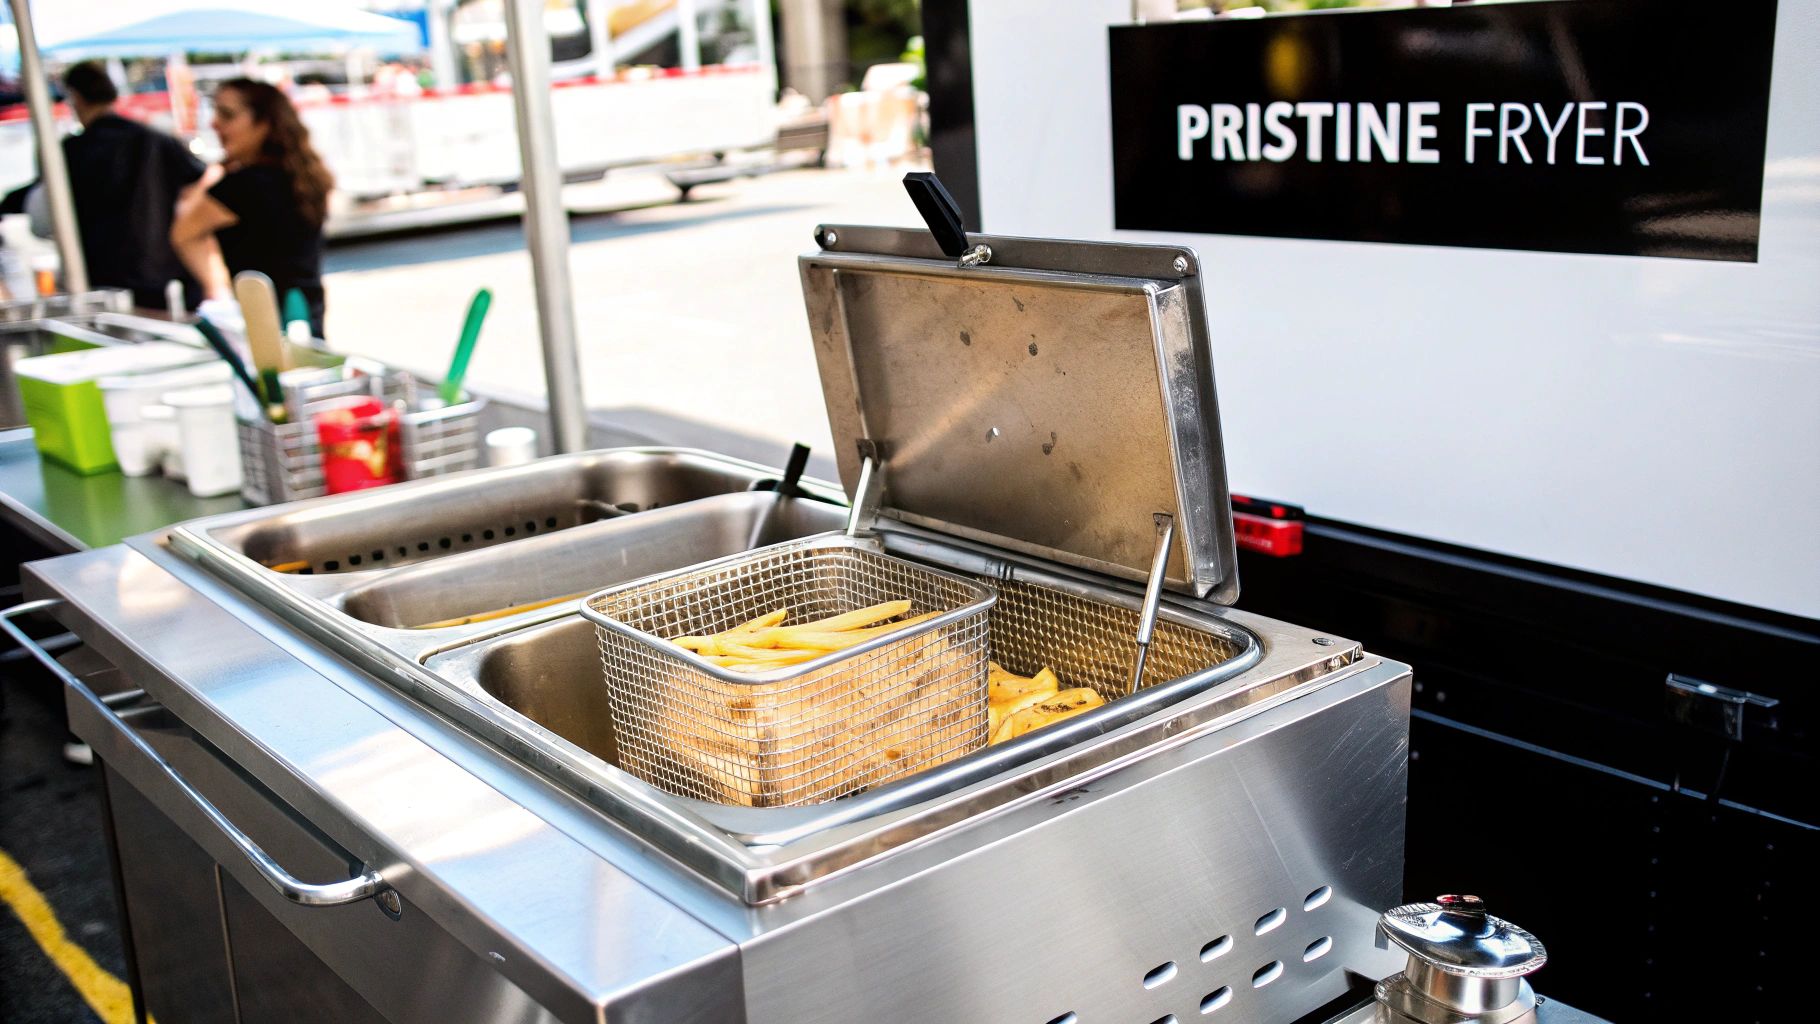
The culprit wasn't their potato supplier or a bad batch of oil. It was something much simpler: inconsistent fryer cleaning. Tiny bits of food debris were getting left in the hot oil day after day, where they would just burn, break down, and turn the oil rancid way ahead of schedule. Not only did this taint the flavor of every single batch of fries, but it also forced them to throw out and replace expensive oil 30% more often. A deep fryer is a crucial piece of restaurant equipment for any establishment serving fried foods.
The Real Cost of a Dirty Fryer
A neglected fryer is more than just a sanitation headache; it's a hole in your pocket. You have to stop thinking of daily wipe-downs and weekly boil-outs as chores. They are strategic business decisions. Every cleaning session is a direct investment in your kitchen’s efficiency and your brand’s reputation.
Here’s what a consistent cleaning schedule truly protects:
- Food Quality and Consistency: Old, dirty oil is loaded with carbonized food particles. That gunk transfers a burnt, nasty flavor to everything you cook. A clean fryer, on the other hand, guarantees every order of fries, tempura, or donuts tastes fresh and exactly how you intended. This is crucial whether you're serving classic fries or the perfect churros for a Mexican food menu.
- Oil Longevity and Cost Savings: Let's be real, cooking oil is a major operational expense. Proper filtering and cleaning can dramatically extend its usable life. For a high-volume spot like a Los Angeles pizza joint or that food truck I mentioned, this can easily save thousands of dollars a year.
- Equipment Lifespan: That caked-on grease and carbon acts like an insulator on your fryer’s heating elements. This forces them to work overtime just to hold the right temperature, leading to higher energy bills and, eventually, premature equipment failure. That means expensive repairs or a full replacement you didn't budget for.
A meticulously maintained fryer is one of the most effective, yet overlooked, profit-protection strategies in a commercial kitchen. It directly impacts your three biggest variables: food cost, labor efficiency, and equipment longevity.
From Chore to Strategy
For any operator, whether you're running a bustling downtown restaurant or a nimble food truck, mastering how to clean a commercial deep fryer is fundamental. It's about so much more than just passing your next health inspection.
It's about protecting your investment, delivering a product you can be proud of, and keeping your kitchen running like a well-oiled machine—literally. The following sections will walk you through the exact steps to make this critical task a seamless part of your daily and weekly operations.
Gathering Your Fryer Cleaning Arsenal
Before you even think about draining that fryer, you need to get your gear in order. Trust me, trying to clean a commercial deep fryer without having the right tools ready to go is a rookie mistake. It’s not just inefficient—it’s a recipe for a serious safety hazard.
Think of this as your pre-flight check for a successful, and safe, cleaning mission.
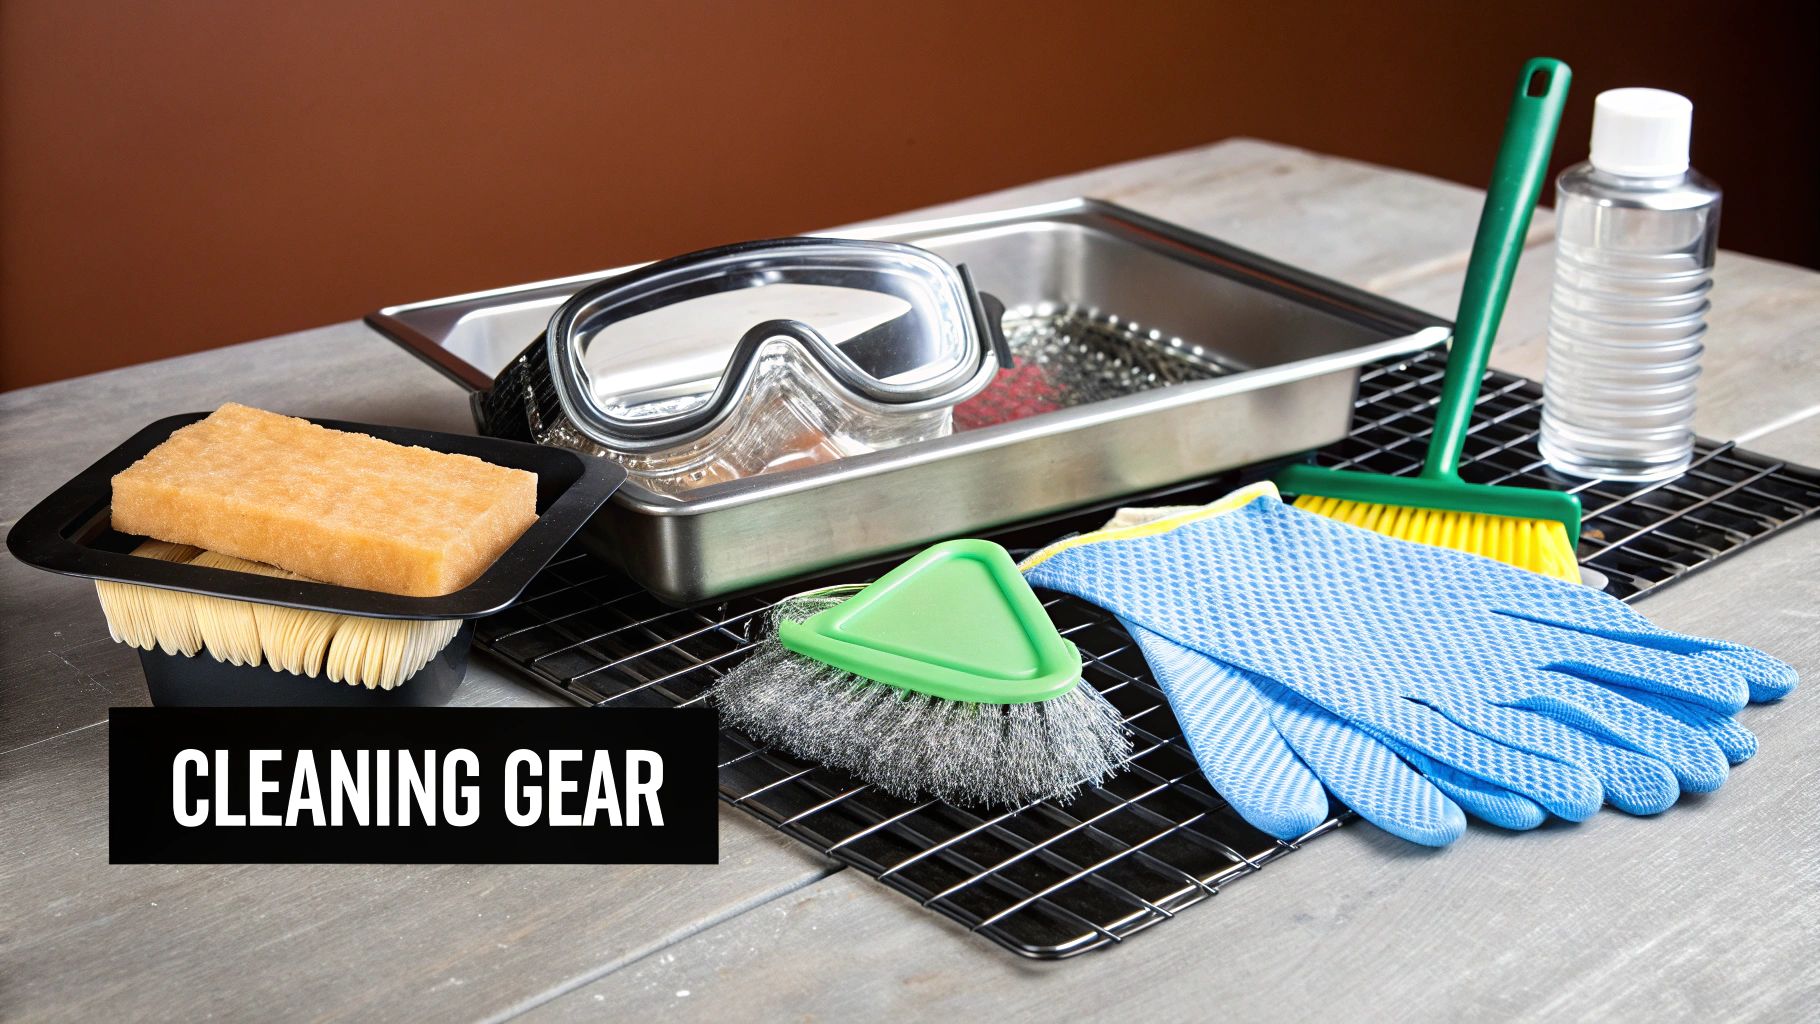
This isn’t about grabbing a random sponge and some soap. You're dealing with oil that can easily be over 300°F and some pretty potent cleaning chemicals. For any busy Los Angeles kitchen, having a dedicated fryer cleaning kit isn't just a good idea; it's a must.
Personal Protective Equipment (PPE) First
Let's be clear: safety is non-negotiable here. Hot oil can cause devastating burns in a split second, and the commercial-grade cleaners you'll be using can be rough on your skin and eyes. So, the very first thing you do is gear up.
- Heat-Resistant Gloves: Your standard dish gloves aren’t going to cut it. You need the heavy-duty, elbow-length kind designed for high temperatures. They’ll protect your hands and forearms from those nasty accidental splashes.
- Safety Goggles: It's so easy to get a splash of hot oil or chemical degreaser in your eye. Don't risk it. Goggles are a must.
- Heavy-Duty Apron: A good vinyl or rubber apron is your frontline defense, creating a barrier between you and hot liquids. It protects you and your uniform.
Never underestimate how dangerous hot cooking oil is. It clings to skin and can cause burns far more severe than boiling water at the same temperature. Making sure your staff has the right PPE is just fundamental kitchen safety.
The Right Chemicals for the Job
Your cleaning agents are doing the heavy lifting. Using the wrong stuff is ineffective at best and can damage your expensive equipment at worst.
The star of the show is a powerful degreaser. For anyone in the restaurant business, understanding what is a degreaser and how it breaks down that tough, baked-on gunk is absolutely critical.
You’ll also need a specialized boil-out solution. These products are made specifically for deep fryers. They're strong enough to dissolve all that carbonized grease but are formulated to rinse away completely, leaving zero residue behind to taint your food. Don't even think about substituting with regular dish soap—it will foam up like a science experiment and leave a film.
Essential Tools for a Deep Clean
Okay, you've got your safety gear on and the right chemicals picked out. Now you need the tools to put them to work. A well-run kitchen should have these items set aside only for fryer maintenance.
- Long-Handled Brushes: A stiff-bristled brush with a long handle is non-negotiable. It lets you scrub the inside of the fry pot without having to dangerously reach inside.
- Fryer Scraper or Rod: This handy little tool is designed to clear out the drain line of any gunk or debris before you drain anything.
- Oil Filtration System: This isn't a cleaning tool in the traditional sense, but a quality filtration system is your best friend. Fine-mesh filters or a dedicated filter machine can extend the life of your oil dramatically by removing tiny food particles.
- Dedicated Buckets: You need a designated, heat-resistant bucket or stock pot just for draining and moving used oil. Don't mix it up with your food prep containers.
Putting this kit together from the start means that when it's time to clean, the whole process is safer, faster, and way more effective. Investing in the right tools upfront saves you a ton of time and protects your valuable equipment—a basic rule for any of the top-tier commercial fryers found in demanding kitchens.
Your Daily End-of-Shift Cleaning Ritual
The chaos of service is over. The last ticket is gone. I know the feeling—all you want to do is kill the lights and go home. But hold on. The next 15 minutes are the most important part of your fryer’s day.
Think of this daily ritual less as a chore and more as an investment. It’s the single best thing you can do to prevent hours of future scrubbing and protect the workhorse of your kitchen. A few minutes now saves you a massive headache later. It’s that simple.
Safely Powering Down and Cooling Off
First things first: safety. Shut the fryer off completely. That means turning off the main power switch or closing the gas valve. You should never even think about draining or cleaning a fryer while it's still at cooking temperature. That oil is a serious hazard and can cause severe burns in an instant.
You have to let the oil cool down to a safe, manageable temperature, which is generally below 150°F. Don't just guess. Use a thermometer to be absolutely sure. Rushing this step is one of the most common—and most dangerous—mistakes I see in kitchens. The good news is, this cool-down period is the perfect time to knock out other closing tasks, like giving the griddle a once-over or prepping for tomorrow's service.
Pro Tip: A quick check with a digital thermometer takes two seconds. It removes all doubt and should be a non-negotiable part of your standard operating procedure. Make it a habit.
The Critical Art of Draining and Filtering
Once the oil has cooled to a safe temperature, it's time to drain and filter it. This one daily step is what separates kitchens that get a full week out of their oil from those burning through it in just a couple of days. You’re getting rid of all those tiny food particles and sediment that, if left overnight, will just keep burning and breaking down your oil.
Grab a clean, heat-resistant container and place it under the drain valve with a fine-mesh or cone filter set on top. Open the valve slowly and let all the oil drain through the filter. This simple process catches all that gunk and gives you clean, ready-to-use oil for the next day.
In the fast-paced world of Southern California restaurants and food trucks, where a single fryer can pump out thousands of orders, frequency is everything. The rule of thumb is that commercial fryers should be cleaned after every five uses. Following that guideline can make your fryer last up to 30% longer, saving you thousands in replacement costs down the line.
Wiping Down the Fry Pot and Surfaces
With the fryer empty, you can finally tackle the day's grime. Remember, this isn't the big boil-out deep clean; it’s a quick but thorough wipe-down.
- The Fry Pot: Use a long-handled brush or a non-abrasive pad to scrub the inside walls of the fry pot. The goal here is just to knock loose any food bits and get rid of that fresh layer of grease before it has a chance to harden into something monstrous.
- Heating Elements: Be gentle here. A quick wipe of the heating elements is all you need. If gunk builds up on them, they have to work harder, which wastes energy and leads to them burning out way too soon.
- Exterior Surfaces: Don't neglect the outside. Wipe down the front, sides, and backsplash with a good degreaser. This prevents that sticky, grimy buildup that not only looks unprofessional but also attracts pests.
This whole routine is a key piece of a larger equipment preventive maintenance checklist that every kitchen should have in place. And if you're looking for more tips, our guide on how to clean a commercial griddle has similar, practical advice for another one of your kitchen's essential tools.
After everything is wiped down and completely dry, you can pour the filtered oil back into the fryer. It’s now ready for action tomorrow. That 15-minute investment you just made will pay off big time in better food quality, longer oil life, and a healthier fryer.
Mastering the Weekly Deep Clean Boil Out
Your daily wipe-down is the first line of defense, but the weekly "boil out" is the ultimate reset button for your fryer. This is the deep-cleaning process that finally gets rid of that stubborn, polymerized grease that simple wiping just can't touch.
For any busy Los Angeles kitchen, whether you're running a high-volume food truck or an established Mexican restaurant, mastering this routine is the secret to a long-lasting fryer and consistently perfect food.
This process uses a mix of water, a specialized cleaner, and heat to essentially boil the fryer clean from the inside out. It's an incredibly effective way to dissolve the caked-on carbon and grease that builds up after a week of hard work. If you skip this step, that buildup will insulate your heating elements, wreck your oil quality, and make your food taste off.
Prepping for a Safe and Effective Boil Out
Before you even think about starting, let's talk safety and prep. A boil out involves scorching hot water and powerful chemicals, so your full set of PPE—heat-resistant gloves, safety goggles, and a heavy-duty apron—is non-negotiable.
Make absolutely sure the fryer is turned off and unplugged from its power source. Next, you’ll need to drain all the old cooking oil into a designated, heat-safe container so it can be disposed of properly.
Once the vat is empty, grab a scraper and gently remove any large, loose food bits from the bottom and sides of the fry pot. This initial scrape is more important than it sounds; it gets the surface-level gunk out of the way so the boil-out solution can attack the tougher, baked-on layers of grease. It just makes the whole process go faster.
The Boil Out Process Demystified
With the fryer prepped, you're ready for the main event. The science here is simple but powerful: the boiling water and cleaning solution team up to break down the chemical bonds in the hardened grease, lifting it right off the metal.
-
Fill with Water and Cleaner: Close the drain valve and fill the empty fry pot with cool water. Always follow the manufacturer's instructions for the fill line, but a good rule of thumb is to fill it to the same level you would with oil. Now, add your commercial-grade fryer cleaner, carefully measuring the amount listed on the product's label. Using the wrong ratio can either be useless or leave a nasty residue behind.
-
Bring to a Gentle Boil: Turn the fryer back on and slowly bring the water and cleaner solution to a gentle, controlled boil. You're not looking for a raging, splashing mess—just a consistent simmer. This lets the heat and chemicals do their thing without creating a safety hazard.
-
Let It Simmer: Allow the solution to boil for about 20 to 30 minutes. That’s the sweet spot for dissolving most heavy buildup. And this is critical: never, ever leave a boiling fryer unattended. Stay close by to keep an eye on it and make sure it doesn't boil over.
This flowchart breaks down the daily upkeep that makes your weekly boil out so much easier.

It’s a simple visual reminder that a consistent daily routine—shutting down, filtering, and wiping—prevents the small messes from turning into major cleaning nightmares.
Rinsing and Seasoning Your Fryer
Once the boil out is done, the final steps are just as important. Turn off the fryer and let the water cool down significantly before you carefully drain the dirty cleaning solution.
The rinsing part is all about food safety. You have to get every last trace of that cleaning chemical out of there. Fill the vat with clean, hot water, swish it around, and drain it completely. Do this at least two or three times. Some kitchens even do a final rinse with a water-and-vinegar solution to neutralize any leftover cleaner, followed by one last water rinse.
Once the fryer is thoroughly rinsed, it needs to be bone dry. Any water left in the vat when you add fresh oil will cause a violent, dangerous splatter. Wipe it down with a clean, lint-free cloth and let it air dry for a few minutes just to be sure.
Finally, you "season" the clean fryer. This just means coating the inside with a thin layer of new oil. This simple protective step prevents rust and gets the metal surface ready for the next service. This whole procedure is a cornerstone of any good commercial kitchen equipment maintenance program.
Solving Common Problems Caused by a Dirty Fryer
Even with a solid cleaning schedule, issues can pop up. But here's the good news: most fryer problems aren't random equipment failures. They're direct symptoms of a cleaning lapse. Learning to spot these signs early means you can troubleshoot in-house, preventing costly service calls and protecting your food quality.
When your fryer starts acting up, think of it as a signal that your maintenance routine needs a tune-up. Whether it's unevenly cooked food or oil that smokes long before its time, the root cause is almost always a buildup of grease, carbon, or old food debris. This isn't about repair—it's about cleaning.
Smoking or Burnt-Smelling Oil
One of the most frequent complaints is oil that starts smoking or smelling rancid far too quickly. This isn't just unpleasant; it's a clear sign your oil has broken down prematurely, which will ruin the taste of everything you cook in it.
The primary culprit is almost always insufficient daily filtering. When tiny food particles are left in the oil overnight, they repeatedly burn with each service, rapidly degrading the oil. A consistent end-of-shift filtering routine is the only real fix. Another cause can be a nasty carbon buildup on the heating elements, creating hot spots that scorch the oil.
If your oil is smoking, your fryer is screaming for a deep clean. It's a direct indicator that carbon buildup is overheating your oil and destroying its lifespan, costing you money and compromising food quality.
Unevenly Cooked or Greasy Food
Ever notice your fries coming out limp and greasy, or one basket cooking much faster than the other? This points directly to your heating elements. Over time, a layer of hardened, carbonized grease can form on them, acting as an insulator.
This forces the elements to work much harder just to heat the oil, leading to inconsistent temperatures and terrible heat recovery. The result is food that sits in the oil longer, soaking up grease instead of getting crispy. The only solution is a thorough boil out to dissolve that insulating layer of carbon, restoring direct contact between the elements and the oil for even, efficient cooking.
- The Problem: Carbon buildup on heating elements.
- The Symptom: Food cooks unevenly or absorbs way too much oil.
- The Fix: A complete weekly boil out to dissolve that insulating layer.
Slow Heat-Up Times and Recovery
If your fryer takes forever to get to temperature in the morning or struggles to recover between batches during a busy lunch rush, you're looking at the same issue: insulated heating elements. This inefficiency doesn't just hurt your food quality; it directly inflates your energy bills.
Grease management stats show exactly why regular fryer cleaning is a profit protector for Southern California's bustling eateries. A disciplined cleaning routine prevents the carbon buildup that can block 40% of heat distribution, ensuring even frying that can boost output by 20% during peak hours. What's more, properly maintained fryers can cut energy bills by as much as 18%—a critical saving for bars pairing back bar coolers with fryers from restaurant suppliers like LA Restaurant Equipment. You can find more insights about the benefits of proper grease management from The Restaurant Warehouse.
By mastering how to clean a commercial deep fryer, you stop being a reactive operator and become a proactive manager. You're not just cleaning; you're performing essential preventative maintenance that solves problems before they can impact your bottom line or your customers' experience. It's a fundamental approach for any successful Los Angeles food business, from a high-end restaurant to a neighborhood pizza shop.
Got Questions About Fryer Cleaning? We've Got Answers.
Even the best guides can't cover every question that pops up in the heat of service. When it comes to cleaning a commercial deep fryer, knowing why you're doing something is just as important as knowing how. Here are the answers to the most common questions we get from kitchen pros.
How Often Should I Really Filter My Fryer Oil?
You need to be filtering your oil at least once a day, period. The best time is usually during your end-of-shift closing routine.
Now, if you're running a high-volume spot—think a packed L.A. food truck during a festival or a restaurant on a Saturday night—you should step it up. Filtering after each major rush (like after lunch and again after dinner) is the pro move.
This isn't just busywork. Daily filtering gets rid of all those tiny food particles that kill your oil, extending its life by up to 50%. That’s a huge savings on oil costs and, just as importantly, it keeps your fried food tasting clean and consistent. Skip this, and you’re on the fast track to that dark, smoking oil that makes everything taste burnt.
Can I Just Use Vinegar or Dish Soap for a Boil Out?
Absolutely not. While a little vinegar on a cloth is fine for wiping down the exterior, it’s nowhere near strong enough for a real boil out. And whatever you do, never use standard dish soap or other household cleaners inside your fryer.
Those products aren’t designed to tackle the caked-on, polymerized grease you find in a commercial unit. Even worse, they leave behind residues that will cause your fresh oil to foam up like a science experiment and make your food taste soapy.
Stick with the right tool for the job: a dedicated, non-foaming commercial fryer cleaner made specifically for boil-outs. This stuff is powerful enough to dissolve the gunk but is also food-safe after a good rinse, and it won't damage the fryer's metal.
What’s the Safest Way to Get Rid of Used Fryer Oil?
First, the big one: never pour used cooking oil down any drain. It’s illegal here in Los Angeles and Orange County for a reason—it causes massive plumbing clogs and is terrible for the environment.
The only right way to do it is to work with a licensed cooking oil recycling service.
These companies will typically give you a secure collection bin for free and pick it up on a set schedule. Just make sure the oil has cooled down completely (below 120°F) before you transfer it. This prevents nasty burns and messy spills. A lot of services in SoCal will even pay you for your used oil, turning waste into a little extra cash. Plus, keeping your disposal records handy is a smart move for any health inspection.
My Fryer Has Some Serious Carbon Buildup. Is It a Lost Cause?
It's almost never too late, but you've got some work ahead of you. That hard, black crust is carbonized grease that’s been building up over a long time.
Start with a standard boil-out, but be prepared to go a little harder. You might need to run the boil-out cycle twice, or let the cleaning solution sit for longer than the usual 20-30 minutes to really soften that buildup. Once it's drained, grab a non-abrasive scrub pad or a fryer cleaning rod and carefully work off the softened gunk.
- Do not use steel wool or anything else that will scratch the stainless steel.
- For really stubborn cases, don't be afraid to run the boil-out process a second time.
- The best part? Once you get it clean, sticking to a daily and weekly cleaning schedule will prevent this from ever happening again.
Ready to upgrade your kitchen with reliable, high-performance equipment? Explore our full line of commercial fryers and other essential restaurant supplies at LA Restaurant Equipment. Get warehouse-direct pricing and fast, free shipping across Southern California. https://larestaurantequipment.com